I just happened to have these 4x 4.5" blocks in my stash from another project, and I decided that I would just use them.
I needed a background to tie them all in, and thought I'd be ambitious with a stripe!
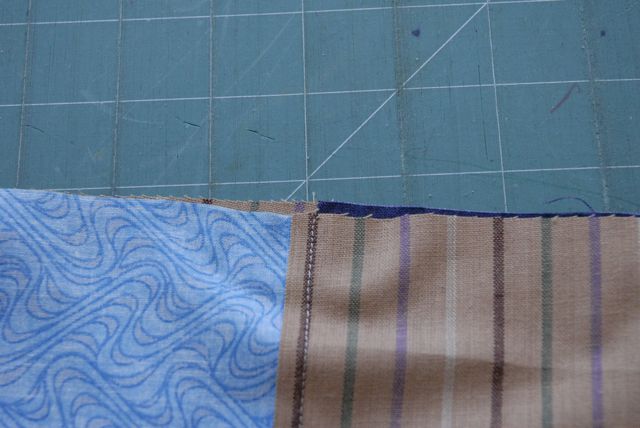
So - here are my fabrics:

Now the trick with stripes is to cut along the stripe, rather than with the grain. Because this is a woven stripe (meaning the stripe is part of the fabric body - its not just printed on) its easy to cut once you line your ruler up with the stripe.

Cut your 9 squares, and lay them out:

This way you can tell if the block is going to look OK or not. This is a verrrrrrry basic block - I'm hoping it will look OK once its in a quilt with sashings and the like.
Next job is pin. Now you can do multiple pieces at once - it saves getting up and down. So I pin them as soon as I put the right sides together, that way I know exactly where I need to sew my seams.

Sew up using a 1/4" seam allowance. Don't sew over your pins like me.... I take my machine's life in my hands every time I do.

When you get to the end of the first piece, put your needle in the down position. Lift up your foot slightly and put the next piece under - then sew. This is called chain piecing. Its used when you are sewing lots of pieces, and saves loads of time!

I had a lovely image of the pieces all together once sewn, but it didn't download for some reason - but its kinda like a flag bunting. Snip between each of the pieces, iron to the dark side and return to your layout.

You can see how all the pieces are coming together now. This is an easy block to finish off in terms of the order of sewing. I'm going to sew the left 3 pieces together, and then the right single strip, and then attach the two together.

From here we need to match our points. Remember how I said to iron to the dark side? Well if you did, you will have a situation a bit like this.

You can see that the seams are ironed off to each side, and actually the middle part - or the line where you want to match up will sit snugly up against the other piece. Kinda like they lock together.
You want this, and when you have them firmly locked, pin. Then pin each end of what you are going to sew, and sew it. When you get to the seams, make sure that the one on the bottom stays folded in the right way - if you have any movement of this at the needle your points wont match.

The next stage of your block will look like this, and this is the toughest part to get the points matching.
Fold the right sides together, and get the seams locking together. Work on one at a time. Pin each of the points, and then work on the sides. Its most important to get the points matched, and then if the sizes are different, you need to ease the remainder of the seam. So you stretch the short pieces and pin in lots of places to ensure that they all match up.

Here's my final block - it really is incredibly simple, and not too challenging for an experienced patchworker, so I've decided to do something a little more tricky.....

This will be the one I seam up and show you tomorrow. Already cut out, ready to go!

Happy sewing, and remember to leave a comment if you have anything you would like to pass on to me.
No comments:
Post a Comment